Saturday 25 February 2017

Beautiful Buddleia

Hi guys. I'm back today with a more detailed step out of the card that I showed over on PaperArtsy's blog on my launch night a few days ago. This particular card was made using my new EKC05 stamp set.


As I've already mentioned previously over on PaperArtsy's blog these flowers are based loosely on buddleia although they can be anything you want them to be! I have added spriggy type leaves - one of which has a long stem so that it can be 'dangled' if you so wish plus you can add the smaller sprig to the stem to make it bushier, as well as using each of them individually. Then we have got two larger style of leaves which can be stamped onto the stems of the flowers (as well as that smaller sprig of leaves) or instead you can stamp the swirly bits onto the stems or even have both together! It's all about giving you choices so that you can make a variety of different looking compositions all from one interactive stamp set. As for those tiny flowers - I've put those on the sheet so that you can change the shape of the flower heads if you so wish simply by stamping more of those little flowers around or into the large flower heads, or they can be stamped onto a separate piece of card, cut out and mounted onto the large flower heads to add dimension or can just be added into the background as I've done with this card. Hopefully once you start playing you'll see that there are lots of different possibilities!!

 Step One (Above): Apply Chalk Fresco Finish all over a 7x7" Smoothy Card panel using a sponge wedge then sponge Lavender and Pixie Dust Fresco Finish around the edges and blend with Chalk Fresco Finish.

 Step Two (Above): Work out where you want to stamp both of the large flower heads then sponge Lavender, Pixie Dust and South Pacific Fresco Finish paints onto the panel to create loose flower head shapes.

 Step Three (Above):  With Jet Black Archival stamp the flowers, leaves and swirls making use of being able to bend and manipulate those flower head stems on the acrylic block before stamping them out! Sponge some off-cut pieces of Smoothy Card with Chalk Fresco Finish before stamping out some butterflies and leaves.

 Step Four (Above): Paint all the stamped imagery using Lavender, Pixie Dust, Sugar Plum, South Pacific, Haystack, Tinned Peas and Inky Pool Fresco Finish paints. Cut out those extra leaves and butterflies. After painting all the imagery I reassessed my background and added some diluted Tinned Peas Fresco Finish paint around the stamped imagery and around the edges of the panel.

Step Five (Above): Paint a wiggly panel with Chalk Fresco Finish paint making it big enough for the words to 'sit on'. Heat set then stamp the words in Jet Black Archival and paint over the letters with watered down Fresco Finish paints - choosing colours already used on the panel.

Step Six (Above): Stamp and emboss the spriggy style of leaves and tiny flowers using VersaMark and Crystal embossing powder. Lightly paint the imagery using diluted Lavender, Tinned Peas and Chalk Fresco Finish paints.

Step Seven (Above): Paint the little flowers in the large flower heads with Pearl Glaze Fresco Finish.

A closer look - you can just make out the pearly shimmer on some of those little flowers within that make up the large flower heads.

Step Eight (Above): Edge the panel using a VersaMark inkpad and emboss with Crystal embossing powder. Layer to a larger card blank and edge with a black multi-liner before mounting the cut out leaves and butterflies. (It was at this stage that I decided I didn't like the pink butterflies that I had previously painted so I painted two more butterflies in South Pacific and Inky Pool with pink and yellow accents and mounted those instead! Lastly add accents of Crystal glitter glue.

This photo (above) shows how the Crystal embossing, the Crystal glitter glue and the Pearl Glaze really catch the light.


I hope that my step outs over the last few days have helped you to see how I go about building up my layers and creating my projects! All of this takes an enormous amount of time, with stopping to take the photos, then uploading and editing them and finally doing the blog post itself (and time is something that I don't tend to have a lot of!!) but I do so hope that for those of you who have visited me over the last few days that it has been time well spent!!

Love Kay xx

Facebook: https://www.facebook.com/kaycarley.designer/
Twitter: https://twitter.com/carleycards
Instagram: https://www.instagram.com/kay.carley/
Pinterest: https://uk.pinterest.com/kaycwilson1/

Thursday 23 February 2017

Wild and Free

Yep I'm back again (as promised!!!) with another stepped out sample for you to see how I go about building my layers. This time I have used my brand new stamp set EKC07.


This particular set contains a lot of smaller style of flowers but it is such a useful set to have as not only does this slot in really well with all my other flower based stamp sets it also makes some fabulous wildflower compositions all on it's own. This set is fast becoming a real favourite of mine! Once again you can see there are a lot of straight stems but as you now know (see my previous post) I do this for a reason! Think about grouping the smaller flowers together to form a cluster plus try stamping the flowers so that they join together on one stem to create taller multi headed flowers. As for that little swirl component (bottom right) - it has been designed that so that you can stamp it onto the stems of the smaller dotty type flowers and have it sitting under the flower heads or it can be used just as swirly tendrils.

 Step One (Above): Using a sponge wedge, sponge a 12 x 21cm Smoothy Card panel all over with Chalk Fresco Finish paint then streakily apply Pixie Dust and Tinned Peas Fresco Finish paint with the sponge wedge. Blend where the two colours meet each other.

 Step Two (Above): Stamp some background imagery using Leaf Green Archival. Paint the 'green parts' with Tinned Peas and Inky Pool Fresco Finish paints.

 Step Three (Above): Add dots to the dotty flower heads with Haystack and Chalk Fresco Finish paints using a fine head of an embossing tool.

 Step Four (Above): Stamp the foreground imagery in Jet Black Archival sometimes arranging the stems a little differently on the acrylic block before stamping out so that the flowers aren't all straight! Then stamp some green swirly bits using Leaf Green Archival.

 Step Five (Above): Paint over the dotty flower heads first with watered down Pixie Dust Fresco Finish paint then begin adding dots of unadulterated Pixie Dust to the flower heads with a medium sized embossing tool head.

 A closer look (above) at step five.

 Step Six (Above): Continue adding dots to the flower heads in this way (using the Fresco Finish paints) swapping to Lavender, then Sugar Plum, Chalk and finally back to Sugar Plum to build up layered multi toned heads. Add dots of these colours to the dots on the stems. Heat set the entire panel before stamping and embossing some 'ghost imagery' using VersaMark and Clear Detail embossing powder.

 A closer look at step six so you can see both the dimension achieved on the flower heads and that clear embossed imagery which adds subtle interest.

 Step Seven (Above): Paint the ghost like bells with Gloss Glaze Fresco paint. Now paint a strip using Chalk Fresco Finish, heat set, stamp the wording onto the strip with Jet Black Archival and paint over the letters with watered down paint - choosing colours already used on the panel.

 A closer look at the painted wording for you.

 Step Eight (Above): Adhere to a bigger card blank and edge with a black multi-liner. Apply some Crystal glitter glue accents to parts of the imagery.

 A closer look showing those multi-toned flower heads as well as the 'ghost imagery'.

 This shows how the 'ghost imagery' suddenly appears when the light catches the card as does the Gloss Glaze painted into the bell flowers.


Obviously you could take this card a step further if you so wish by stamping and painting extra flowers onto spare pieces of card, cutting them out and mounting them onto the panel which as you saw from my previous post really adds to the finished result but I wanted to show with this card that a more simplistic approach looks good too. Instead of stamping and embossing those bell flowers with VersaMark and Clear Detail embossing powder you could swap to stamping them with black Versafine and emboss with the Clear Detail and them paint them to add another coloured layer to the panel. There are just so many choices open to you when creating your wildflower art with this set.

I shall be back again on Saturday at midday sharing a more detailed step out of the buddleia card that I made for launch night so please do pop back then!!

Love Kay xx

Facebook: https://www.facebook.com/kaycarley.designer/
Twitter: https://twitter.com/carleycards
Instagram: https://www.instagram.com/kay.carley/
Pinterest: https://uk.pinterest.com/kaycwilson1/

Tuesday 21 February 2017

Summer Skies

As promised I am back to share how I created another of my launch night samples! This particular card has been created using stamps from my brand new stamp set EKC06.


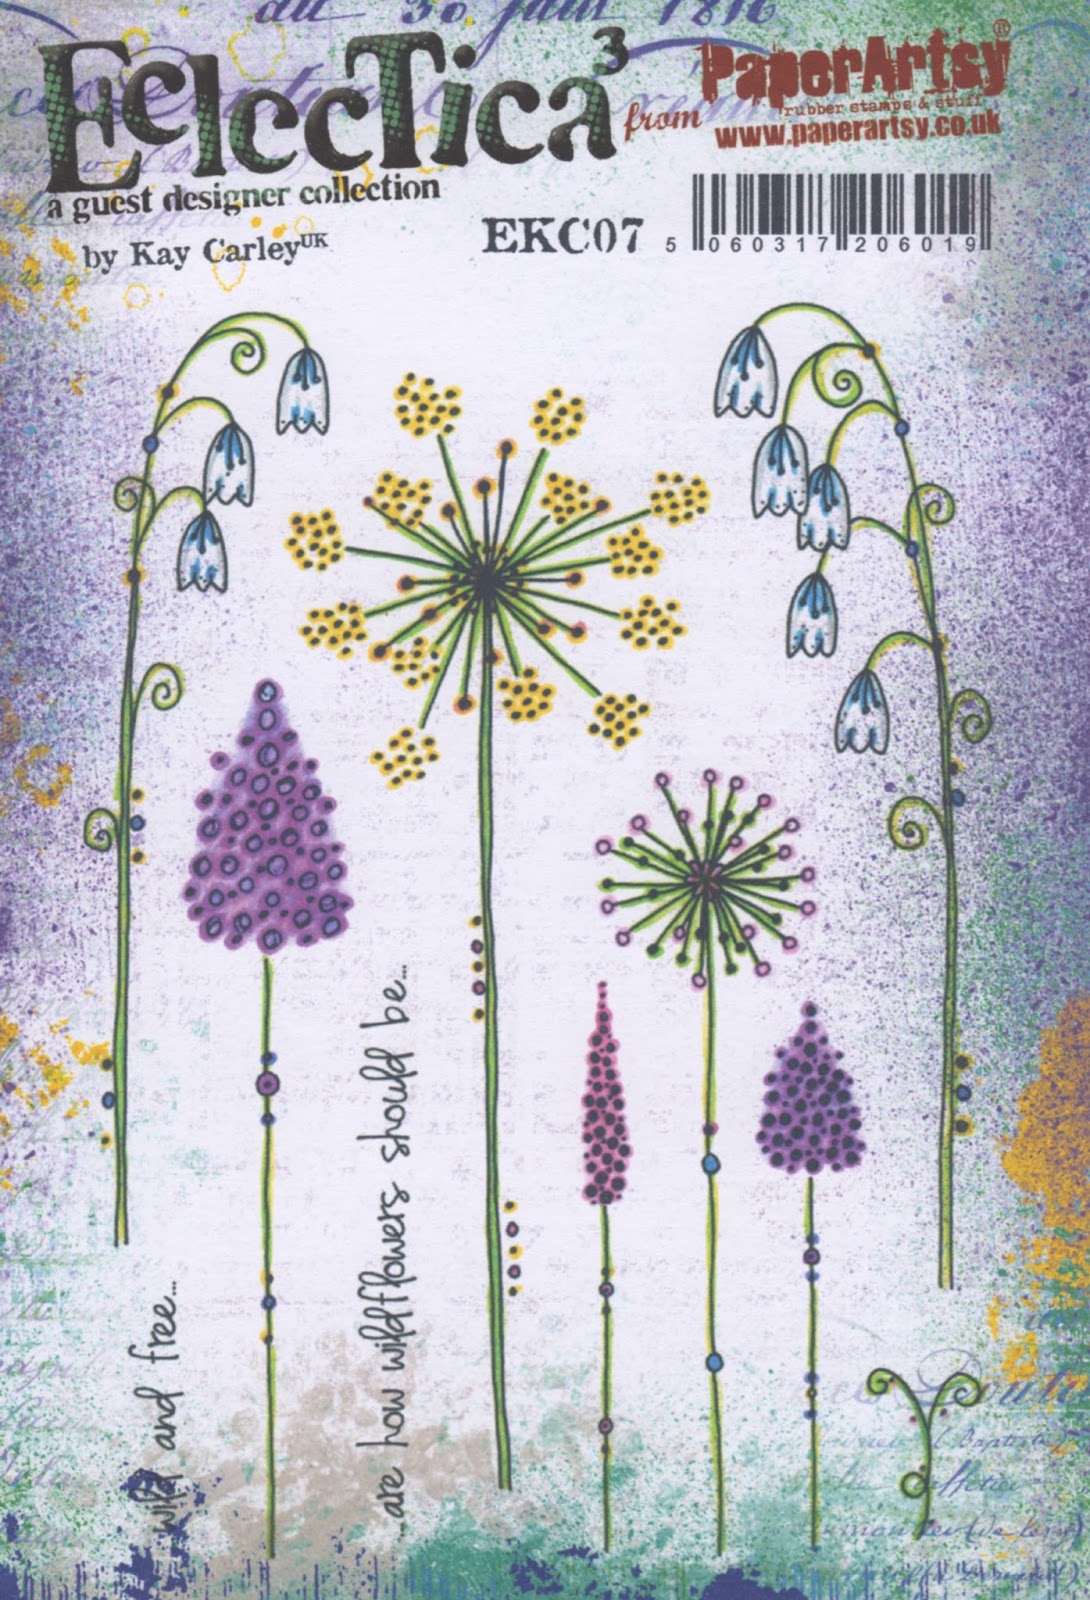
The tall flowers in this set have been based on delphinium flowers although they can be anything you want them to be - I hardly ever draw my flowers 'true to form' so that they can be interpreted however you want!!! The little swirly bits on this sheet have been added so that you can stamp swirly tendrils onto any of the stems if you so wish. You may notice that nearly all the components have been drawn with straight stems and this is because I believe this provides greater versatility to a stamp as when placing the stamp onto your block you can either keep the stamp just as it is with a straight stem or you can bend or curl that stem either to the left or the right thus changing the look of the image - you'll see exactly what I mean in just a minute. I like to do this a lot when stamping out my compositions and sometimes (being that my stamp sets all come pre-trimmed on an EZ mount backing) the stems will want to 'ping' back into the correct shape on my block. So to prevent this from happening I tend to use a Tombow repositionable glue on the back of all of my stamps which makes the EZ mount even tackier and provides greater repositionable adhesion when manipulating the stamps on an acrylic block.

Anyway let's get cracking with how I created the above card -

 Step One (Above): Using a sponge wedge, sponge Chalk Fresco Finish paint over an A5 Smoothy Card panel. Then still using the sponge wedge apply Tinned Peas Fresco Finish paint and Lavender Fresco Finish paint in a purposely streaky fashion. Blend where the two colours meet each other and add some faint cloud shapes into the Lavender area using Chalk Fresco Finish.

 Step Two (Above): Stamp some background imagery using Leaf Green Archival bending the flower first one way and then the other between each inking and stamping. It was at this stage I changed my mind about the shape of the card and decided to trim the panel to 14.5 x 14.5cm.

 Step Three (Above): Paint the stems with heavily watered down Tinned Peas Fresco Finish paint and add Chalk Fresco Finish paint to the dots on the flower heads using a smallish head from an embossing tool!

 Step Four (Above): Stamp some more background imagery using Leaf Green Archival then add some foreground imagery by stamping the tall flowers in Jet Black Archival adding some stamped swirly tendrils to the stems.


Step Five (Above): Stamp some extra tall flowers and some dragonflies on pieces of Smoothy Card using Jet Black Archival.

 Step Six (Above): Paint the imagery on the panel using Lavender, South Pacific, Haystack, Inky Pool, Tinned Peas and Sugar Plum Fresco Finish paints. Add Chalk Fresco Finish to the dots on the imagery using that same embossing tool head.


 A closer look above at how I painted the tall flowers.

 Step Seven (Above): Paint the extra flowers and dragonflies using the same paint colours as mentioned in step six. Cut out.

Step Eight (Above): Stamp and emboss extra imagery across the base of the panel using VersaMark and Crystal embossing powder. This provides a subtle layer which every so often you catch a glimpse of when it catches the light!

 A couple of closer looks at step eight. (Above)

 Step Nine (Above): Paint some strips with watered down Chalk Fresco Finish so that you can still see the layer beneath rather than blocking it out. Heat set then stamp the words over the strips and paint the letters with watered down colours of Fresco Finish paint - choosing colours already used on the panel.
 A closer look at painting the letters with the paints. (Above)

 Step Ten (Above): Adhere the panel to a slightly longer card blank and edge where the panel meets the card with a black multi-liner. Mount just one large tall flower and two little dragonflies to the panel. (I kept all the other extra cut out imagery and used them for another card so they weren't wasted! - I always tend to do more than I might need in order to give myself options when creating my compositions.) Lastly add accents with the black multi-liner and add some extra sparkle to the imagery with Crystal glitter glue.


A couple of close ups for you of the flowers and dragonflies.

I hope that these step outs have given you an insight into how I go about creating my samples!

I'll be back on Thursday at midday to show you another stepped out card :).

Love Kay xx

Facebook: https://www.facebook.com/kaycarley.designer/
Twitter: https://twitter.com/carleycards
Instagram: https://www.instagram.com/kay.carley/
Pinterest: https://uk.pinterest.com/kaycwilson1/