Showing posts with label Fresco Finish. Show all posts

Saturday, 24 February 2018

Bright Blooms

Coooooeeeeeeee!! Here I am again. This time I thought I'd share a card created with a bright and vibrant colour scheme!!


Once again I used PaperArtsy's gorgeous Fresco Finish paints to achieve this. I hardly seem to use anything else now as I truly love these paints. I find them so easy to work with :). The stamp set of choice for this card was EKC14 along with mini stamps EM26 (butterfly), EM31 (swirl along the top and base of the card) and EM32 (mini flowers).


You will notice that once again I have used my new stencils combined with my new stamps to create some interest in the background. Stencils used were PS076 and PS080 (for the little stencilled butterflies).

 
The picture above gives you a closer look at two of my mini stamps - EM26 (the butterfly) and EM32 (the flowers).


All of these new stamps and stencils are available to buy now from PaperArtsy stockists and from my own website www.kaycarley.com.

I have several teaching dates coming up throughout March and April which you can find under my Classes tab here on my blog or on my Classes page over on my website. If anyone is interested in booking me for a class, workshop, demo or event please do get in contact with me via any of my social media.

Kay xx

Friday, 16 February 2018

Pretty in Pink

Oooohhhh get me..........I'm blogging again!! Today I thought I'd share a card that I recently made for my Newbury demo using (of course!!) my new stamps and stencils for PaperArtsy along with their fabulous range of Fresco Finish paints.

This A5 sized card was created using a combination of stamps from EKC12 and EKC17 along with stencils PS075 and PS080.

You can see that I wanted to do a little something with the wording on this card so I chose to cut around some of the words with a craft knife and sink them!!

 I did the same here as well to keep it consistent.

I really like painting these puffball style flowers to make them look dimensional. This is achieved by using different colours of paint - normally 3 or 4 colours. To make them catch the  light I added a few dots of White Fire Fresco Paint to the blue flowers.

This card was all about 'layering' and creating a scene with depth so I chose to mount a couple of the blue flowers.

I can't tell you just how much I've enjoyed working with all the products from my latest release for PaperArtsy! All of my new stamps and stencils are available to buy now from PaperArtsy stockists and also from my own website kaycarley.com.

I have several teaching dates coming up throughout March and April which you can find under my Classes tab here on my blog or on my Classes page on my website. 

Kay xx

Friday, 9 February 2018

Dancing Daisies

I'm back again - this time with a closer look at one of the cards I created using EKC13 combined with EKC17 - both from my new release of stamps.

 I truly love the textured look of the background to this card which was achieved using a combination of PaperArtsy's Green Man Infusions along with PaperArtsy's Fresco Finish Chalk Acrylic paint in Granny Smith.

 I then added some soft interest to the background using Snowflake Fresco Finish paint through stencils PS076 and PS077.

 The beautiful  large Field Grass stamp from EKC17 was stamped in green to create a soft backdrop for the daisies.

 The wording was taken from the grass stamp sheet - EKC17.

I chose to make the swirly element from EKC13 into dotty flowers just by adding dots of paint to them.

All of my new stamps and stencils can be bought from me at kaycarley.com.

I have several teaching dates coming up throughout March and April which you can find under my Classes tab or on my Classes page on my website. If anyone is interested in booking me for a class, workshop, demo or event please do get in contact with me via any of my social media :).

Kay xx

Friday, 2 February 2018

3D Flowers

Hi! I'm back again!! This time I thought I'd share another detailed look of a card created with another of my new releases - EKC15.


This stamp set in particular was designed with journalling in mind as there are loads of different flower heads on this stamp set along with the curly stem stamp that you see above, a separate straight stem and a couple of leaf stamps.


All of these were designed to be easy to cut out and of course can also be layered on top of one another to create dimensional flowers.


Once again my little bird (EM25) just had to make an appearance on this card - both of the birds on this mini stamp are such a useful size to pop onto a card or page to fill an empty space.


For the flower I used a combination of PaperArtsy's Fresco Finish Chalk Acrylic paints and PaperArtsy's Infusions.


The wording for this card was taken from another of my new mini stamps - EM27. The swirl going down the left side of the card was stamped using another of my new mini's EM31.


PaperArtsy's Crackle Medium was used to create the distressed background.

All of my stamps are now available to buy on my very own website!!

I have several teaching dates coming up throughout March and April which you can find under my Classes tab but if anyone is interested in booking me for a class, workshop, demo or event please do get in contact with me via any of my social media :).

Kay xx

Wednesday, 31 January 2018

A Little Birdie

Hellooooo!! I'm back again with another detailed look at one of my samples that I created for my latest stamp release for PaperArtsy this time using my Spring Trees stamp set EKC16 along with the grass stamp set EKC17 and a few of my minis - Birdhouse (EM25), Butterflies (EM26) and Swirl (EM31).


PaperArtsy's Fresco Finish Chalk Acrylics were used throughout.


You can see that I chose to add the little birdie and butterflies afterwards so that I could shape them to give them movement and dimension.


I even added the suggestion of fallen spring blossom to the base of all the trees. Stamping the tall grasses along the base of the panel is a great way of adding depth to a scene too - it was this sort of scenario I had in mind when I was designing them.

All of my stamps are now available to buy on my very own website!!

I have several teaching dates coming up throughout March and April which you can find under my Classes tab but if anyone is interested in booking me for a class, workshop, demo or event please do get in contact with me via any of my social media.

Kay xx

Socials...

Friday, 26 January 2018

Bloom

Hi everyone. Today I thought I'd share in detail one of my creations that I recently did using a combination of my new stamps for January 2018.

This 6x6" greyboard panel was created using PaperArtsy's Fresco Finish paints along with my stamp sets EKC12, EKC13 and EKC17 combined with my fabulous matching stencil PS075 and my cute little bird mini stamp EM25!! 

 This little guy is just hilarious!! 

 The daisies are from EKC13 and the dotty twigs are from EKC17.

 This really shows the shadows that I have created using the matching stencil PS075.

You will see that my little bird makes an appearance regularly on my samples!!

All of my stamps and stencils can now be bought directly from me at kaycarley.com - I offer FREE postage to anywhere in the UK on orders over £20 which equates to just buying one stamp set :).

I'll be back again soon with some more inspiration for you. 

Kay xx

Socials...
Website: http://www.kaycarley.com
Blog: http://kaycarley.blogspot.co.uk
Pinterest: https://www.pinterest.co.uk/kaycwilson1/
Facebook: https://www.facebook.com/kay.carley4
Twitter: https://twitter.com/carleycards 
Instagram: https://www.instagram.com/kay.carley/

Friday, 10 March 2017

PaperArtsy's Infusions with Paint

Hi everyone :)!

Just stopping by to let you know that I have done a little step by step project over on PaperArtsy's blog tonight combining the fabulous Infusions powders with Chalk Fresco Finish paint.

Here's a little peek!!


To see the finished piece please do head on over to the PaperArtsy Blog :)

Love Kay xx

Facebook: https://www.facebook.com/kaycarley.designer/
Twitter: https://twitter.com/carleycards
Instagram: https://www.instagram.com/kay.carley/
Pinterest: https://uk.pinterest.com/kaycwilson1/

Thursday, 23 February 2017

Wild and Free

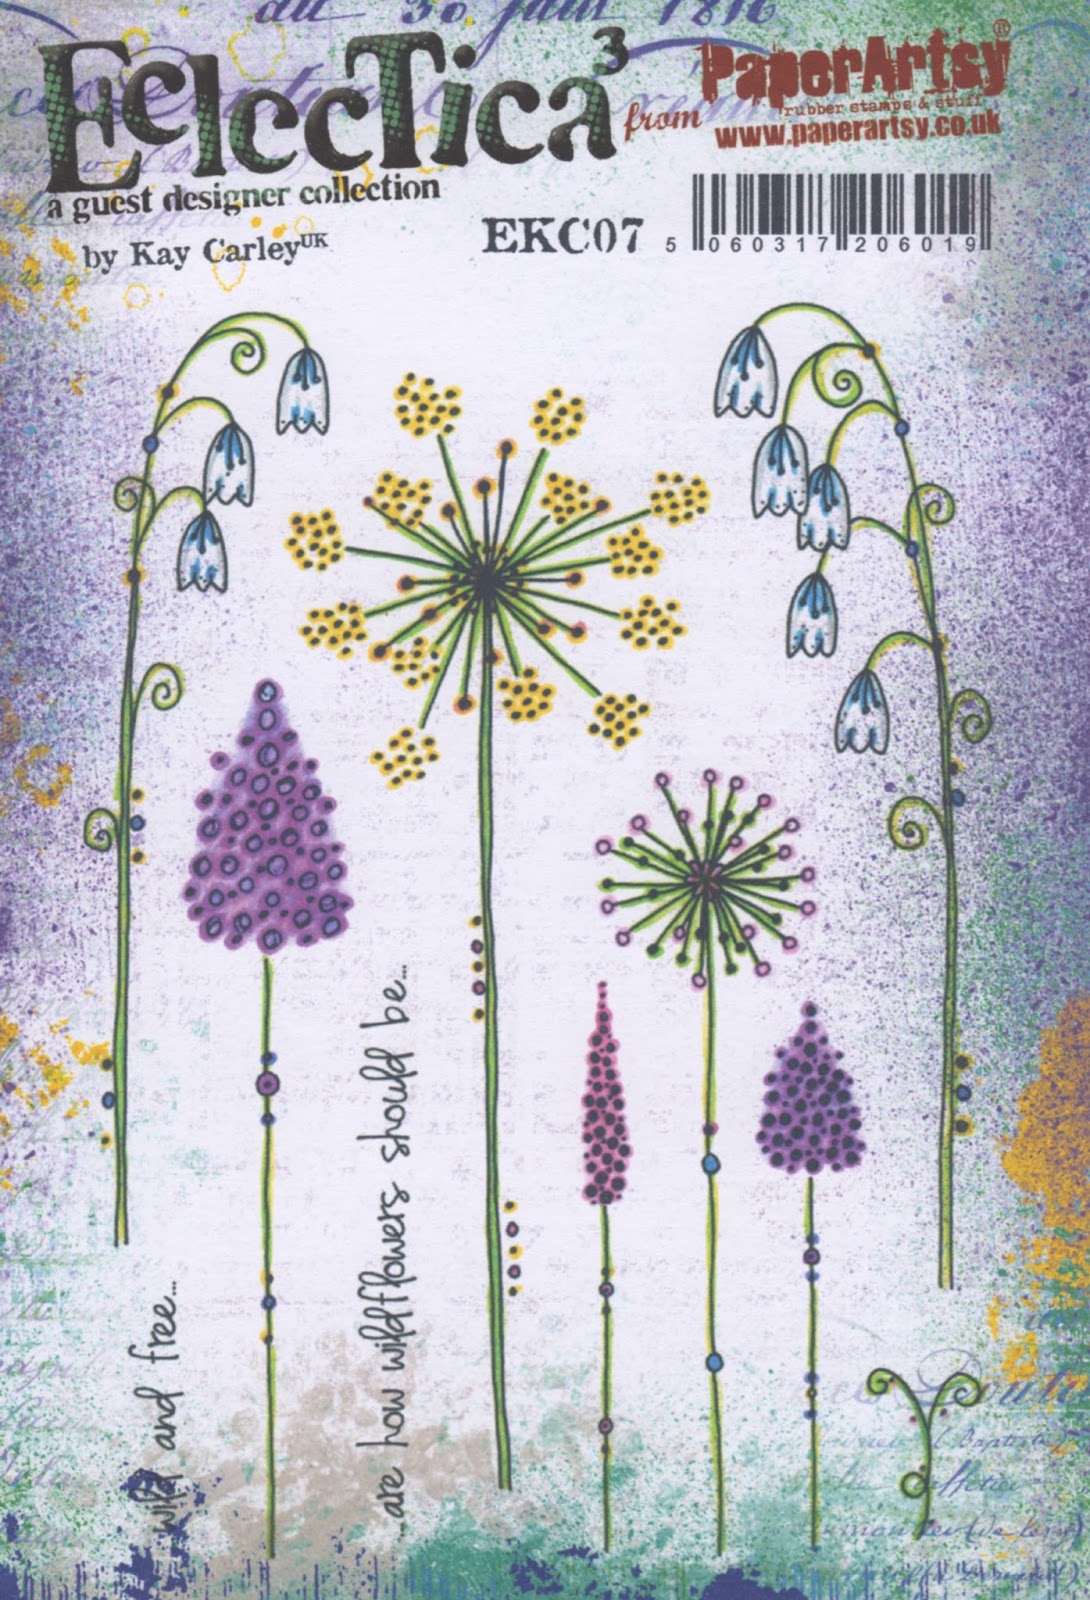
Yep I'm back again (as promised!!!) with another stepped out sample for you to see how I go about building my layers. This time I have used my brand new stamp set EKC07.


This particular set contains a lot of smaller style of flowers but it is such a useful set to have as not only does this slot in really well with all my other flower based stamp sets it also makes some fabulous wildflower compositions all on it's own. This set is fast becoming a real favourite of mine! Once again you can see there are a lot of straight stems but as you now know (see my previous post) I do this for a reason! Think about grouping the smaller flowers together to form a cluster plus try stamping the flowers so that they join together on one stem to create taller multi headed flowers. As for that little swirl component (bottom right) - it has been designed that so that you can stamp it onto the stems of the smaller dotty type flowers and have it sitting under the flower heads or it can be used just as swirly tendrils.

 Step One (Above): Using a sponge wedge, sponge a 12 x 21cm Smoothy Card panel all over with Chalk Fresco Finish paint then streakily apply Pixie Dust and Tinned Peas Fresco Finish paint with the sponge wedge. Blend where the two colours meet each other.

 Step Two (Above): Stamp some background imagery using Leaf Green Archival. Paint the 'green parts' with Tinned Peas and Inky Pool Fresco Finish paints.

 Step Three (Above): Add dots to the dotty flower heads with Haystack and Chalk Fresco Finish paints using a fine head of an embossing tool.

 Step Four (Above): Stamp the foreground imagery in Jet Black Archival sometimes arranging the stems a little differently on the acrylic block before stamping out so that the flowers aren't all straight! Then stamp some green swirly bits using Leaf Green Archival.

 Step Five (Above): Paint over the dotty flower heads first with watered down Pixie Dust Fresco Finish paint then begin adding dots of unadulterated Pixie Dust to the flower heads with a medium sized embossing tool head.

 A closer look (above) at step five.

 Step Six (Above): Continue adding dots to the flower heads in this way (using the Fresco Finish paints) swapping to Lavender, then Sugar Plum, Chalk and finally back to Sugar Plum to build up layered multi toned heads. Add dots of these colours to the dots on the stems. Heat set the entire panel before stamping and embossing some 'ghost imagery' using VersaMark and Clear Detail embossing powder.

 A closer look at step six so you can see both the dimension achieved on the flower heads and that clear embossed imagery which adds subtle interest.

 Step Seven (Above): Paint the ghost like bells with Gloss Glaze Fresco paint. Now paint a strip using Chalk Fresco Finish, heat set, stamp the wording onto the strip with Jet Black Archival and paint over the letters with watered down paint - choosing colours already used on the panel.

 A closer look at the painted wording for you.

 Step Eight (Above): Adhere to a bigger card blank and edge with a black multi-liner. Apply some Crystal glitter glue accents to parts of the imagery.

 A closer look showing those multi-toned flower heads as well as the 'ghost imagery'.

 This shows how the 'ghost imagery' suddenly appears when the light catches the card as does the Gloss Glaze painted into the bell flowers.


Obviously you could take this card a step further if you so wish by stamping and painting extra flowers onto spare pieces of card, cutting them out and mounting them onto the panel which as you saw from my previous post really adds to the finished result but I wanted to show with this card that a more simplistic approach looks good too. Instead of stamping and embossing those bell flowers with VersaMark and Clear Detail embossing powder you could swap to stamping them with black Versafine and emboss with the Clear Detail and them paint them to add another coloured layer to the panel. There are just so many choices open to you when creating your wildflower art with this set.

I shall be back again on Saturday at midday sharing a more detailed step out of the buddleia card that I made for launch night so please do pop back then!!

Love Kay xx

Facebook: https://www.facebook.com/kaycarley.designer/
Twitter: https://twitter.com/carleycards
Instagram: https://www.instagram.com/kay.carley/
Pinterest: https://uk.pinterest.com/kaycwilson1/